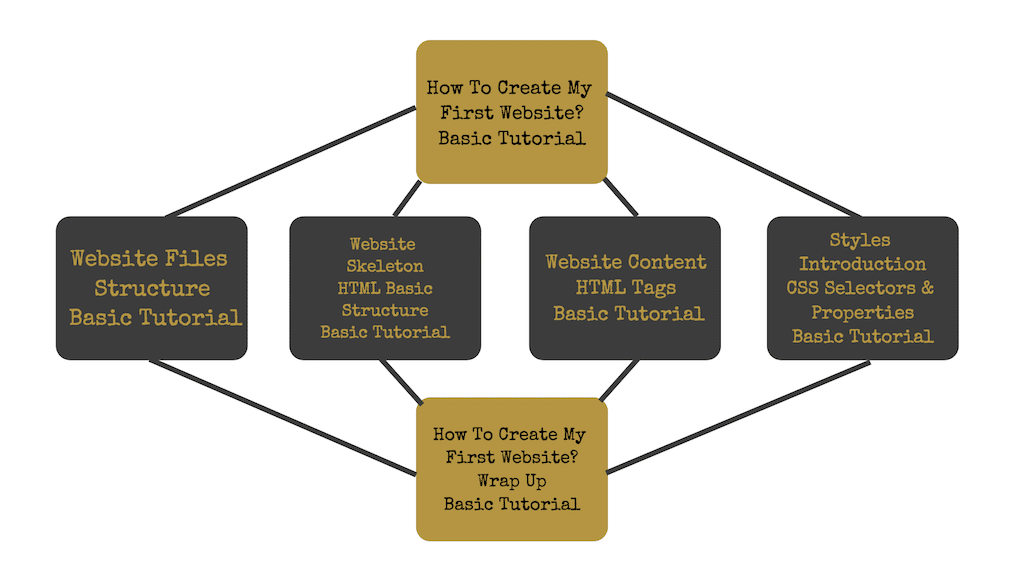
- Coding Classes For Kids – How To Create My First Website? – Basic Tutorial
- Coding Classes For Kids – Website File Structure – Basic Tutorial
- Coding Classes For Kids – Website Skeleton – HTML Basic Structure – Basic Tutorial
- Coding Classes For Kids – Website Content – HTML Tags – Basic Tutorial
- Coding Classes For Kids – Styles Introduction – CSS Selectors & Properties – Basic Tutorial
- Coding Classes For Kids – How To Create My First Website? – Wrap Up
I am a member of a Facebook Group which was created for expat ladies in Manila, Philippines. Lately some of the mums have posted that they are looking for coding classes for their kids. As I am a web-developer, I decided to help. Really quickly I got a couple of requests for private classes. After some research, I made the decision to create a small tutorial – how to create my first website, for not only my private classes, but also for all kids across the globe. Let’s start the new series!
The tutorial below will be divided into classes and we will learn how to build your first page. It will be at a totally basic level for beginners and kids starting from 7 years old and above. Each of the lessons will have exercise files attached so it will be much easier to detect potential mistakes. In this tutorial we will not go deeper into details, this course is created to make you start coding, we will learn about details in another series with a more advanced continuation of this course. I hope you will enjoy! Let me start then…
Remember, if you have any questions during the course, feel free to ask me in the comment section below.
Contents
How do websites work?
Let’s start from the basic question. We see websites every day, Facebook, Instagram, Twitter, blogs, YouTube and so on. But how does it happen that we can see it, interact with it, buy products, watch new videos or play games?
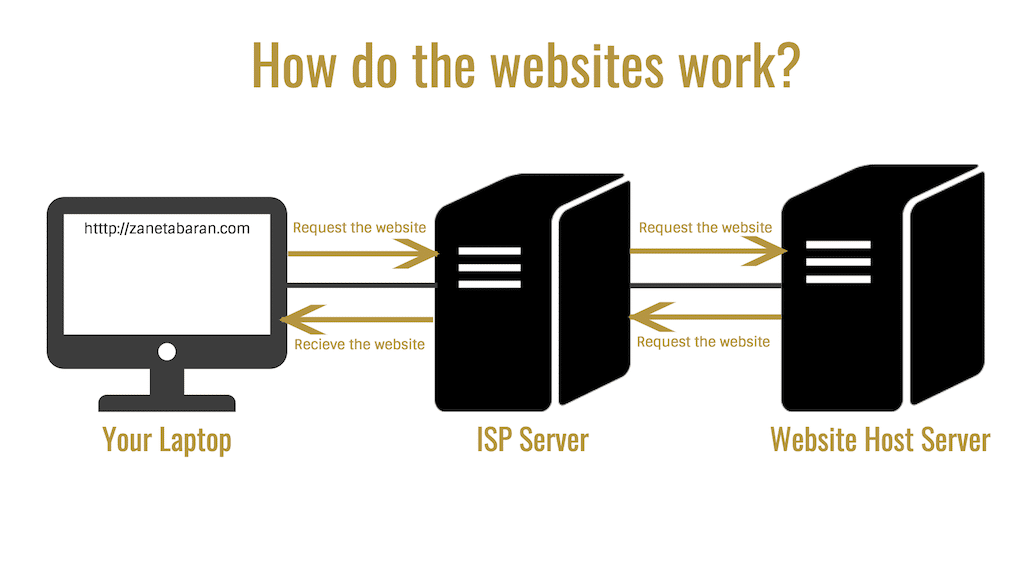
Imagine two laptops connected to the Internet. Because of the Internet connection, two laptops can send information to each other, can talk to each other and can see each other. In the Internet world we have special computers which are called Servers. Servers are connected to the Internet directly, our laptops are connected to the Internet by other systems (Internet Service Provider – ISP).
Servers and laptops can communicate with each other in a special language which we call code. Code is a set of rules that describe what a website’s content should look like in order for laptops and servers to understand it.
Imagine, you are using a browser like Chrome or Firefox and you would like to see my page https://zanetabaran.com – what you are doing? You are typing my address in a browser. What does a browser do? A browser sends a message to the server where my page is located, where the files of my page are located. The server sends the files of my page back to the browser and the browser translates files (codes) into this, what you see on my page right now. Imagine, that all of it happens really quickly, like in a couple of seconds.
However, when you create files on your page, on your computer (we call it locally) nobody can see it yet, just you. In order to publish it (make it visible for others) we will have to move files into a server. We will learn about that later on.
What is the process of creating websites?
In this course, we will create our first website. In this case, let me ask you some questions:
What will your website be about?
What websites do you like? What websites you do NOT like?
By answering these questions you will have a better understanding of what kind of website you want to create. In this course I will create a website about coding classes however feel free to choose your own topic.
I hope you already know the answers! Let’s move on then and talk more about the process and steps that we need to take to create a website.
Mockup and Design
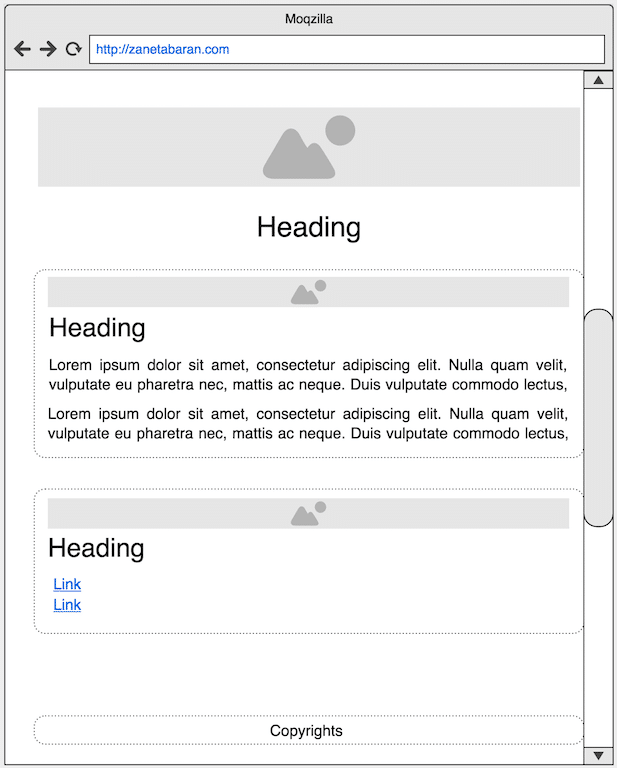
Before starting working on our website we need to create a mockup of our page. What is a mockup? It is a drawing which represents the structure of the page. At this stage we should think what kind of elements we want to show, where these elements will be located, how these elements will be located on smartphones or tablets and so on. Take some time at this stage. Preparing a good mockup can save you a lot of time later on. It is the time when you can take a notebook and draw your mockup similar to the picture below.
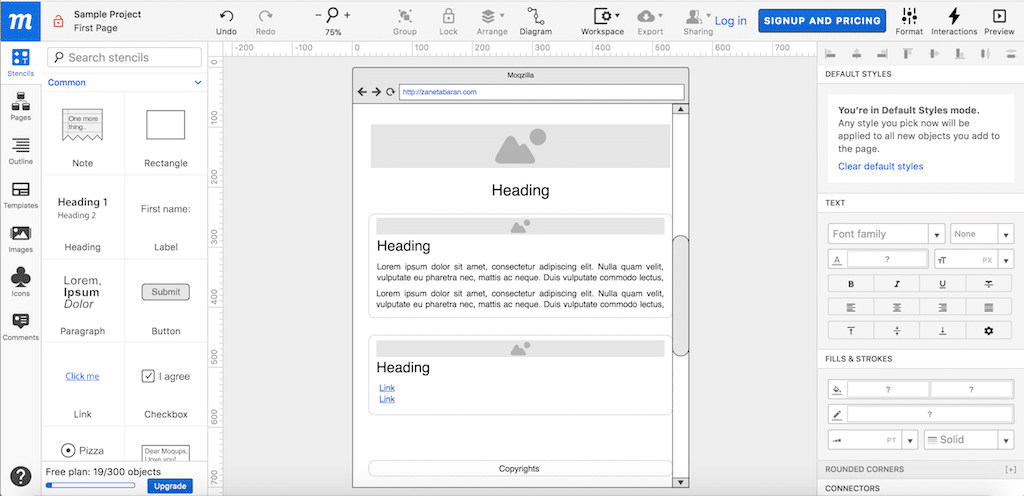
You can also use free online tools to create your mockup online as I have done via moqups.
As soon as your mockup is ready, then let’s move to creating a design. At this stage you should think about the final look of our website, it is the last chance to move elements around, it is time for colours, borders, text, images and so on. At this stage we want to draw how our website will look like in real life. Again, take some time here. Check if your website doesn’t seem to be too busy. Maybe elements are too small to be clickable? Maybe pictures are too big? It is alright to change your mockup and design, it is exactly what we want to happen at this stage. We need to find as many problems as possible right now, before we start coding. So let’s take crayons and give our design a final look!
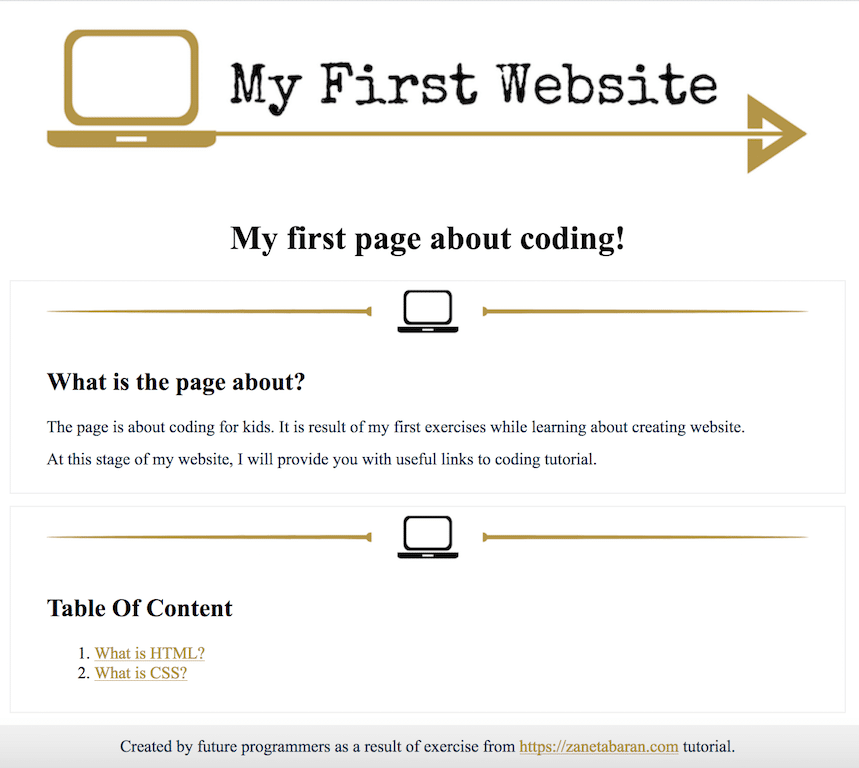
I want my page to look like the picture below.
Development
At this point we will learn about coding and it is the main part of the course. At this basic tutorial we will focus only on basic knowledge, however the series will have continuation with more advanced topics.
Going Live
The ‘going live’ process is the most exciting moment for every developer. It is the time when you move the files of your website to the server and everybody who has access to the Internet can see your page.
What will I need for going live with my site?
There are a couple of things that you need for moving your site to the server.
- Hosting – first of all you need a server for your page, which means you need someone to host your page on the server. Hosting can be for free but usually has a monthly payment.
- Domain – while working on the site on our local machines we use strange local url (address of the page) but at some point we will need to have a nice, custom, user-friendly address. It is a stage where we need to buy domain.
At this basic tutorial we will not go more deeper into this topic. Hosting and domain includes payment and support from adults. At this part of the course all you need to know, is that these steps need to be taken in order to present your site on the Internet.
What tools will we use?
Text Or Code Editor
As I mentioned earlier the website is about files. We will need some tools to type codes. At the beginning we can use just the Notes application or any other text editor which is installed on your laptop. However I highly recommend you to install some of following code editors:
- Notepad ++ for Windows
- EditPadLite for Windows
- TextWrangler for Mac
- Atom for Mac
- KomodoEdit for Windows, Mac and Linux
Why it is better to use a code editor? These tools understand code, they give you hints, make code colourful to recognise different parts and so on. It is much easier to use code editors than text editors.
Browser
We will need a browser to see our page. As I mentioned earlier, we will work on your laptop, so the page will not be visible to your friends. At the beginning, you are going to be the only one who can see it. It also means that the url address of your page will be a little bit different.
You can use Chrome, Firefox or Safari for our exercises. Personally, I recommend Chrome but it depends on your preferences.
Notebook and pen
It is always good to have a piece of paper and a pen or pencil. We will use it to make some notes or draw your website.
The next lesson will be about…?
I know, there is so much theory now but it is only beginning. There are things which needs to be explained so the course will be easier later on. In the next lesson, we will learn about the file structure of our website. We are really close to start coding!
The series was created based on inspiration from the following websites:
All materials have been created by myself and mentioned websites were only inspirations.
Editor – Natasha Jay O’Neil, please contact Natasha directly for queries related to her services.
Zaneta loves challenges so deciding about career path she has chosen typical male industry. Woman who codes. Every 1-2 years she lives in different part of the world. Gym dates is something what she specialised in. Healthy lifestyle, extreme sports and motorbikes have stolen her hear years ago.

