
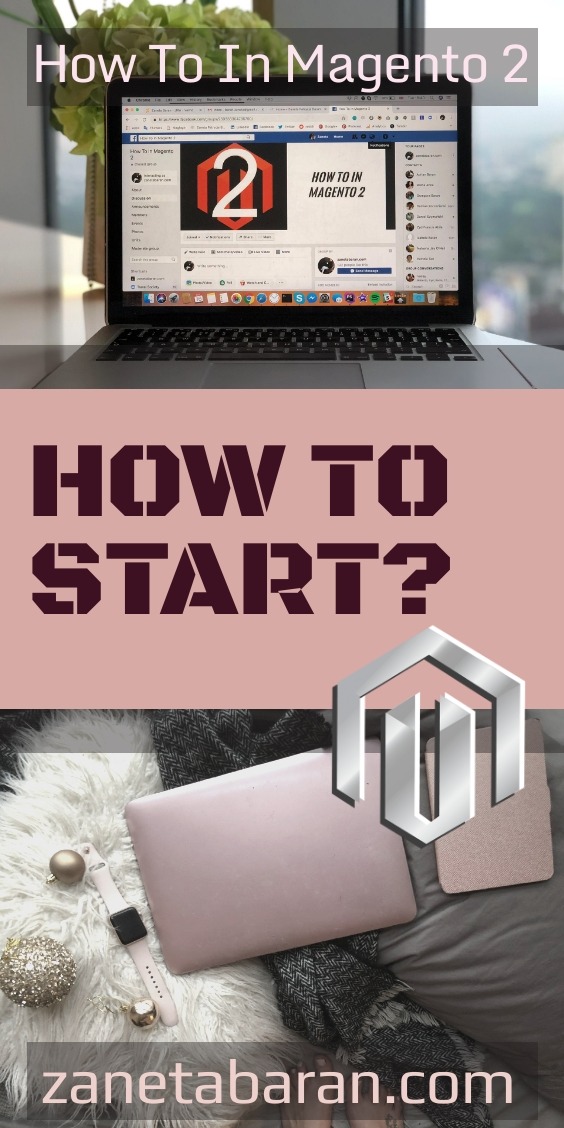
- How To In Magento 2 – How To Start?
- How To In Magento 2 – How To Add Custom Icons?
- How To In Magento 2 – How To Add Modal PopUp?
- How To In Magento 2 – How To Move Checkout Buttons To Order Summary Only On Desktop
- How To In Magento 2 – How To Recognise Shipping And Payment Step In Checkout On Frontend
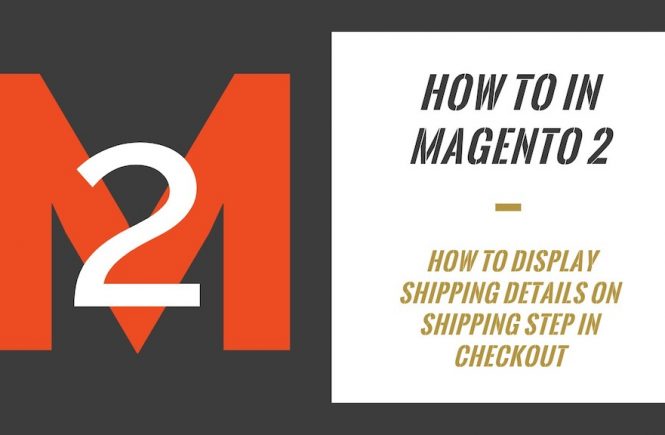
- How To In Magento 2 – How To Display Shipping Details On Shipping Step In Checkout
- How To In Magento 2 – How To Display Total Price Summary On Shipping Step In Checkout
- How To In Magento 2 – How To Add Tabs (Accordion) Only On Mobile
- How To In Magento 2 – How To Display Additional Text Based On Selected Shipping Methods In The Checkout
- How To In Magento 2 – How To Add Additional Dropdown With Options Based On Selected Shipping Methods In The Checkout
I would like to invite you to new blog post series – How To In Magento 2. I noticed that some of my Magento related posts are so popular which obviously means there is need for these kind of posts. I decided to prepare blog posts series with all learning and own experiences. Each of the post will describe different problem, error or implementation. I will not cover all aspects of Magento 2 but I will point all challenges which I meet during my daily work. My main purpose of this series is to make developers’ life easier.
Contents
Why do I think I can teach you something?
Probably you are wondering who I am to teach you about Magento 2. You can read about my background in one of my previous blog posts Women In Tech – How I Have Started My Journey?
I have been leading projects as HellyHansen or OspreyLondon. I just thought in this second, it is kind of sad that developer don’t get recognition for their hard work. Anyway, that’s topic for another blog post.
I work based on best practice and high quality code. No, I don’t know everything but I am trying to learn and I would love to learn from you! Add your experiences and learnings to the comment and I will add them to this series.
SUBSCRIBE TO MAGENTO 2 NEWSLETTER!
Would you like to get information when new Magento tutorial is available?
Subscribe to the newsletter and be up to date!
Where to start with Magento 2?
Let’s start the series with quick introduction to Magento 2 Frontend. As a start I would highly recommend to every single FE developer to start with The Frontend Developer Guide. Also, please, notice, that my samples are based on blank theme (I inherit my theme from blank theme ), probably they will be slightly different for luma theme.
Structure of your theme
As a first step let’s prepare structure for your new theme. It is worth to check this documentation. Following steps are a good start for your journey.
- Create app/design/frontend/<Vendor>/<theme>/theme.xml. Notice, you need to specify your parent theme and preview image. Moreover as soon as you set your theme name once, you cannot change it easily, you will have to change it in database.
- Create app/design/frontend/<Vendor>/<theme>/composer.json file.
- Create app/design/frontend/<Vendor>/<theme>/registration.php file.
- Optional you can add file app/design/frontend/<Vendor>/<theme>/ etc / view.xml which configures size of your images.
- Create your directory structure.
- Add your logo app/design/frontend/<Vendor>/<theme>/ web / images / logo.svg.
Your structure for your new theme is ready.
Grunt installation
Your next step is grunt installation. If you are using devbox, install grunt on your devbox.
Remember to modify file dev/tools/grunt/configs/themes.js by adding your theme.
Theme Inheritance
It is really important to understand how works theme inheritance, I believe Magento documentation is enough to understand the whole process.
Layouts
Please, see documentation Layout Instructions and informations how to add your own style file. Below you can find some samples of changes.
- In order to remove Advanced Search link below search input, add app/design/frontend/<Vendor>/<theme>/Magento_CatalogSearch/layout/default.xml with the following content:
<?xml version="1.0"?> <page xmlns:xsi="http://www.w3.org/2001/XMLSchema-instance" xsi:noNamespaceSchemaLocation="urn:magento:framework:View/Layout/etc/page_configuration.xsd"> <body> <referenceBlock name="advanced-search-link" remove="true"/> </body> </page> - In order to change wording of registration link, instead of changing it in translation files, add app/design/frontend/<Vendor>/<theme>/Magento_Customer/layout/default.xml with following content:
<?xml version="1.0"?> <page xmlns:xsi="http://www.w3.org/2001/XMLSchema-instance" xsi:noNamespaceSchemaLocation="urn:magento:framework:View/Layout/etc/page_configuration.xsd"> <body> <referenceBlock name="my-account-link" remove="true"/> <referenceBlock name="top.links"> <block class="Magento\Customer\Block\Account\RegisterLink" name="register-link" after="authorization-link"> <arguments> <argument name="label" xsi:type="string" translate="true">Join</argument> </arguments> </block> </referenceBlock> </body> </page> - In order to remove wishlist from header, add file app/design/frontend/<Vendor>/<theme>/Magento_MultipleWishlist/layout/default.xml with the following content:
<?xml version="1.0"?> <page xmlns:xsi="http://www.w3.org/2001/XMLSchema-instance" xsi:noNamespaceSchemaLocation="urn:magento:framework:View/Layout/etc/page_configuration.xsd"> <body> <referenceBlock name="multiple-wish-list-link" remove="true" /> </body> </page> - General changes like logo size, adding static blocks, removing footer links, removing bugs info from footer, add app/design/frontend/<Vendor>/<theme>/Magento_Theme/layout/default.xml with following content:
<?xml version="1.0"?>
<page xmlns:xsi="http://www.w3.org/2001/XMLSchema-instance" xsi:noNamespaceSchemaLocation="urn:magento:framework:View/Layout/etc/page_configuration.xsd">
    <body>
        <referenceContainer name="header.panel">
            <block class="Magento\Cms\Block\Block" name="top-header-info">
                <arguments>
                    <argument name="block_id" xsi:type="string">top-header-info</argument>
                </arguments>
            </block>
        </referenceContainer>
        <referenceBlock name="logo">
            <arguments>
                <argument name="logo_img_width" xsi:type="number">85</argument>
                <argument name="logo_img_height" xsi:type="number">43</argument>
            </arguments>
        </referenceBlock>
        <move element="form.subscribe" destination="footer" after="-"/>
        <referenceBlock name="copyright" remove="true"/>
        <referenceBlock name="search-term-popular-link" remove="true"/>
        <referenceBlock name="privacy-policy-link" remove="true"/>
        <referenceBlock name="sales-guest-form-link" remove="true"/>
        <referenceBlock name="contact-us-link" remove="true"/>
        <referenceBlock name="catalog-search-advanced-link" remove="true"/>
        <referenceBlock name='report.bugs' remove='true'/>
        <referenceContainer name="footer">
            <block class="Magento\Cms\Block\Block" name="footer-social-media" before='-'>
                <arguments>
                    <argument name="block_id" xsi:type="string">footer-social-media</argument>
                </arguments>
            </block>
        </referenceContainer>
        <referenceContainer name="footer_links">
            <block class="Magento\Cms\Block\Block" name="custom-footer-links">
                <arguments>
                    <argument name="block_id" xsi:type="string">custom-footer-links</argument>
                </arguments>
            </block>
        </referenceContainer>
    </body>
</page>
Templates
In order to change template, please, see documentation Templates Overview. I believe it is everything what you need to know. Let me show you some examples. Notice, that some of templates are html files.
- In order to change “or” to “|” in the header links. Copy file <Magento_Review_module_dir>/view/frontend/templates/account/link/authorization.phtml to app/design/frontend/<Vendor>/<theme>/Magento_Customer/templates/account/link/authorization.phtml and modify file.
- In order to modify content of mini cart, you should copy <Magento_Checkout_module_dir>/view/frontend/web/template/minicart/content.html to app/design/frontend/<Vendor>/<theme>/Magento_Checkout/web/template/minicart/content.html
Styles
It is a great part of the documentation – Simple way to customise theme’s styles. Notice that all your less files are in app/design/frontend/<Vendor>/<theme>/web/css/source/ directory or app/design/frontend/<Vendor>/<Module_Name>/web/css/source/ directory. There is not skin directory anymore. Let’s check some important files.
- _extend.less is the simplest option when you are happy with everything the parent theme has, but want to add more styles.
- _theme.less is used to overwrite existed variables, remember that it overrides the parent _theme.less. Copy all variables you need from the parent _theme.less, including those which will not be changed.
It is important part, in other case you will get errors during compilation. - _variables.less is a file with all your custom variables. Don’t define them anywhere else.
- In order to extend specific components, add, for example, _buttons_extend.less and include it in your _extend.less. For instance, my _extend.less looks like
@import '_buttons_extend.less';
@import '_typography_extend.less';
@import '_navigation_extend.less';
- In case you would like to overwrite some of components, just create file for example _buttons.less
- It is worth to see predefined variables which we can overwrite in _theme.less
- Notice, that styles are defined in specific modules. The general styles for framework, you can see in Magento_Theme module, in order to overwrite them create app/design/frontend/<Vendor>/<theme>/Magento_Theme/web/css/source/_module.less. This file will be overwritten, not extented. You should keep structure and overwrite styles for specific modules by copy them to your theme, another example app/design/frontend/<Vendor>/<theme>/Magento_Newsletter/web/css/source/_module.less in order to modify styles for Newsletter.
Adding theme js
In order to add some short theme js, you can copy file from your parent theme to your theme – app/design/frontend/<Vendor>/<theme>/web/js/theme.js and modify it.
Wrap Up
This short blog post is only initial introduction to Magento 2 Frontend. It should give you overview of Magento 2 Frontend structure, files and processes.
MORE MAGENTO 2 TUTORIALS

JOIN THE GROUP ON FACEBOOK!

PIN ME!

I hope it can help with your journey with M2! Also feel free to give your feedback and advices. Did you find this post useful? I would be more than happy if you share it with your friends, maybe someone else will find it useful as well. Good luck!
Zaneta loves challenges so deciding about career path she has chosen typical male industry. Woman who codes. Every 1-2 years she lives in different part of the world. Gym dates is something what she specialised in. Healthy lifestyle, extreme sports and motorbikes have stolen her hear years ago.
2 Comments
how to overide magento 2 template authorization.phtml
You need to copy this file into following path app/design/frontend/CompanyName/themeName/Magento_Customer/templates/account/link/authorization.phtml